Firebase Cloud Functions are not related to Laravel PHP code. You cannot code cloud functions in Laravel. Basically they are some code hosted in Firebase Console itself (Serverless). So you have to come out of your PHP stuff and code in Javascript. You have to see this as MySQL triggers. When you create, update, delete data in Cloud Firestore, you can write certain actions. For an example, whenever a Student takes a exam for subject, increase the counter of "Exams" in Student. So we need to understand Cloud Functions for our upcoming chapters, where we learn to make Full text search using Algolia or ElasticSearch and many stuffs like that.
Lets get started
You can find the Functions tab in the Sidebar of Cloud Functions. It will instruct you to install firebase tool in your pc.
So before running this command in local PC, make sure you have installed Nodejs version 10 (at time of this chapter written, may change in future) and npm. Then run following command in your Terminal or Command prompt
npm install -g firebase-tools
This will install firebase tool globally. You can run this anywhere, as it install global command. After successfully installed in your PC. Now click continue.
Now, create a local folder anywhere because we don't need any server to run this code. as we will be uploading and testing on Firebase console. There is concept of Local emulater, but we would not go in depth detail of this now, instead we will deploy directly.
So create a folder name with any name. Suppose we created this "firebase-cloud-functions". Now open this directory in your terminal (linux) or cmd (windows) and run
firebase login
It will open google account sign in window. where you can sign in with firebase account gmail id. And after successful login. You will see this window in browser.
And in cmd, you will logged in automatically.
Now this account should be same, in which you have Firebase project. and this login will be saved for future use. Now if you want to use another account, then you have to simply logout from already logged in account. You can do this by following command
firebase logout
After successful login, coming back to initialize of firebase project, as mentioned in Get started popup step2. So we run following command
firebase init
After, you have to select option
Then you will asked a few questions. And select answer as follows
 Select Use an existing project
    Select your project
    Select Javascript
    Do you want eslint: yes
    Do you want to install dependencies with npm now: yes
Then you will get the message Firebase initialize complete
And folder structure would be like this
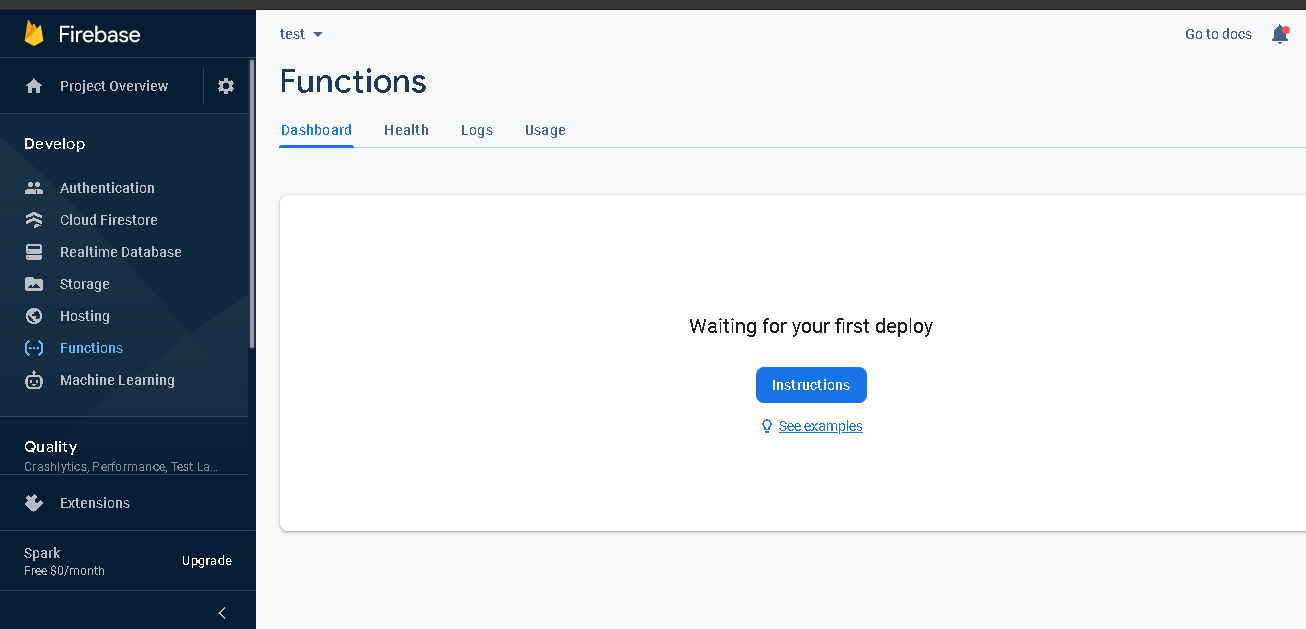
Now coming back to firebase console, after you click "continue":. You will see the message waiting for first deploy
So now lets move to writing our first function and then we will deploy our function.
You have to open functions/index.js.This is main file where you will write your functions
 const functions = require('firebase-functions');
    // Create and Deploy Your First Cloud Functions
    // https://firebase.google.com/docs/functions/write-firebase-functions
    exports.helloWorld = functions.https.onRequest((request, response) => {
     functions.logger.info("Hello logs!", {structuredData: true});
     response.send("Hello from Firebase!");
    });
This is simple http request function helloWorld given by Firebase as default to understand how to write a function. To deploy this, we fire following command.
firebase deploy
But here you will face error, that you are in Free Spark Plan. For deployment, you need upgrade your account to Pay as you go Blaze Plan. So as of now (dt. 06-09-2020, you cannot deploy for free, as above Nodejs 10 supported functions needs to have Blaze Plan).
In next chapter, we will cover in detail, how will write a function with an example
Hope you understood the basic concepts of Firebase Cloud Functions.If you have any doubt in this chapter, please let us know in the comment section.


Let us know your doubts here
ReplyDelete